belvaxis Logo Belvaxis Contact Us
Contact Us

Loaf Shaping Techniques That Actually Work

Common shaping mistakes and how to fix them. Learn tension, scoring, and the difference between batard and boule shapes.

9 min read Intermediate July 2026
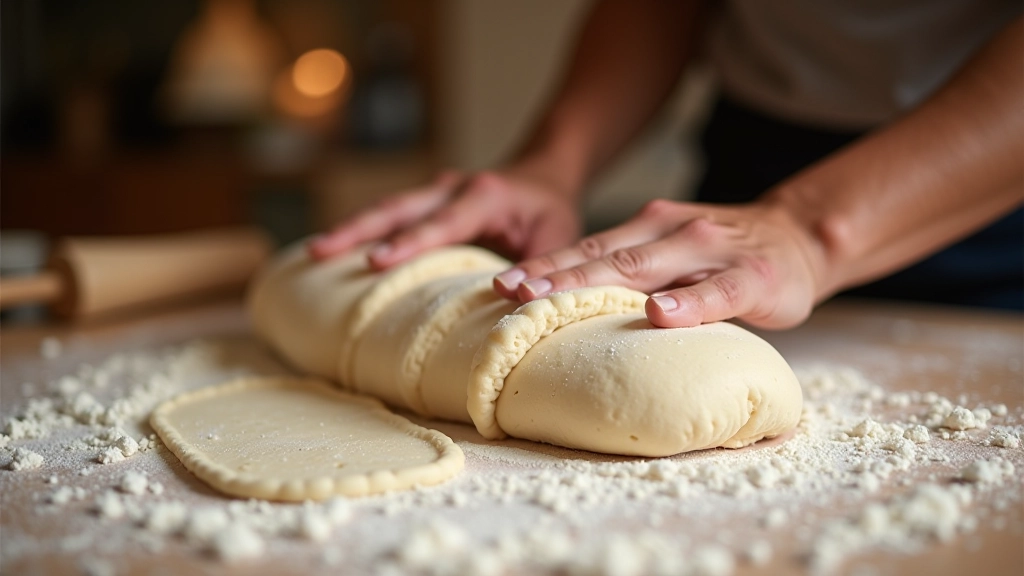
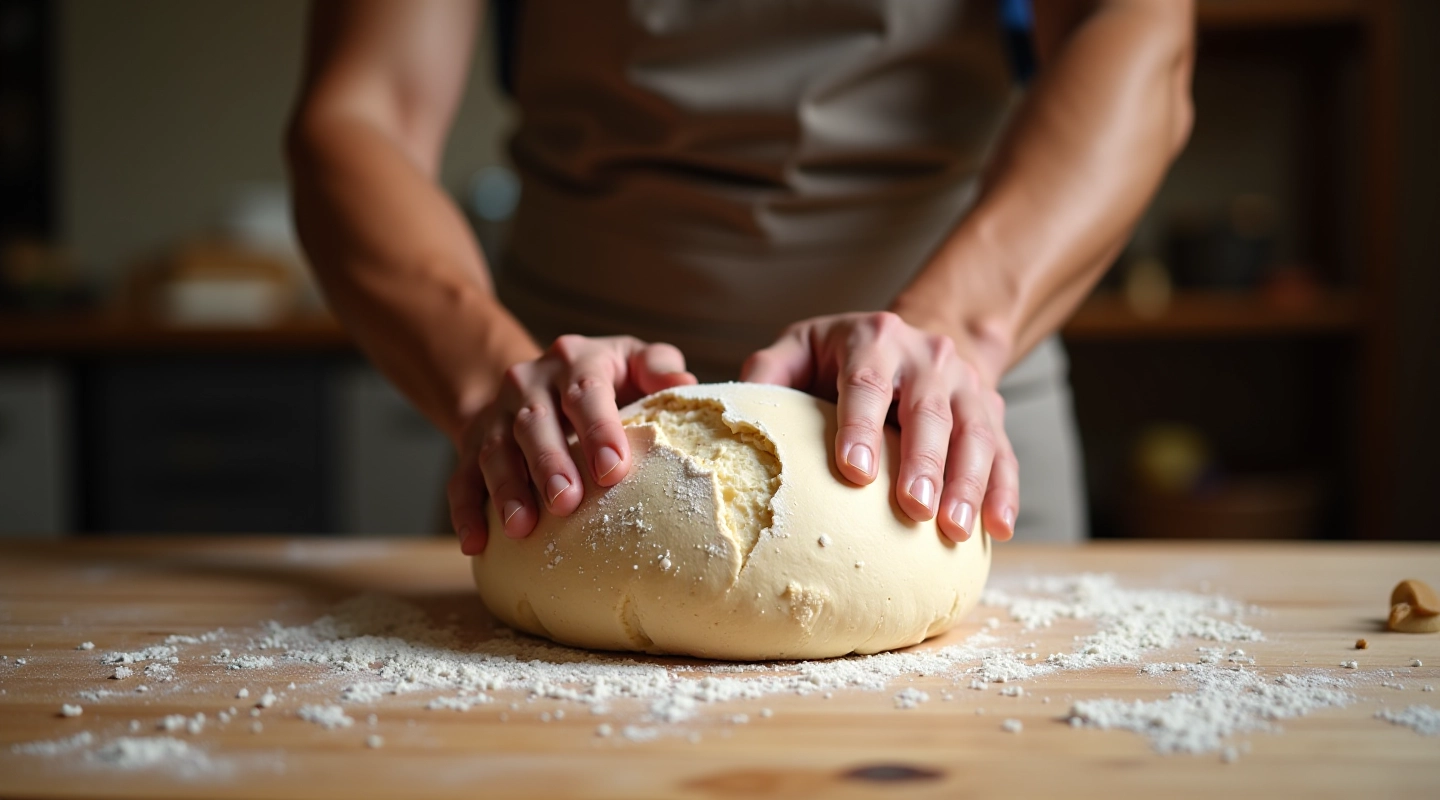
Artisan baker shaping sourdough loaf on wooden work surface, demonstrating proper tension technique
Kenmare Sourdough Editorial Team
Author

Kenmare Sourdough Editorial Team

Editorial Team

Written by the Kenmare Sourdough Editorial Team, focused on clear, practical guidance for sourdough bakers of all levels.

Why Shaping Actually Matters

Most people think shaping is just about making the dough round. It's not. What you're really doing is building tension in the gluten network — that's what keeps your loaf standing tall instead of spreading flat. You'll notice the difference between a well-shaped boule and a loose one the moment they go into the oven.

The thing is, good shaping happens in about 30 seconds. It's quick but it's deliberate. Too gentle and your dough won't hold its shape. Too rough and you'll degas it completely. We're going to walk through exactly what you're looking for.
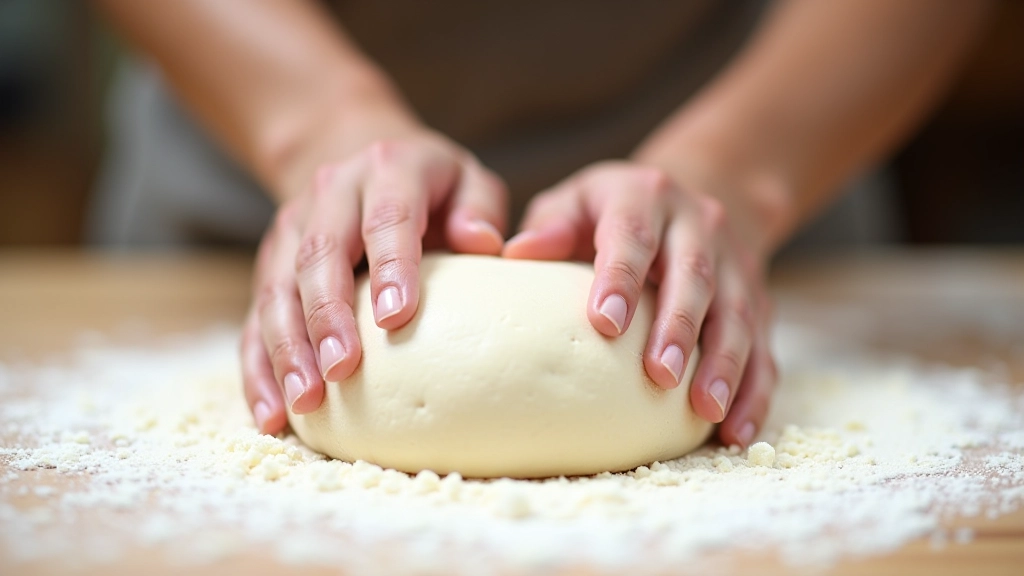
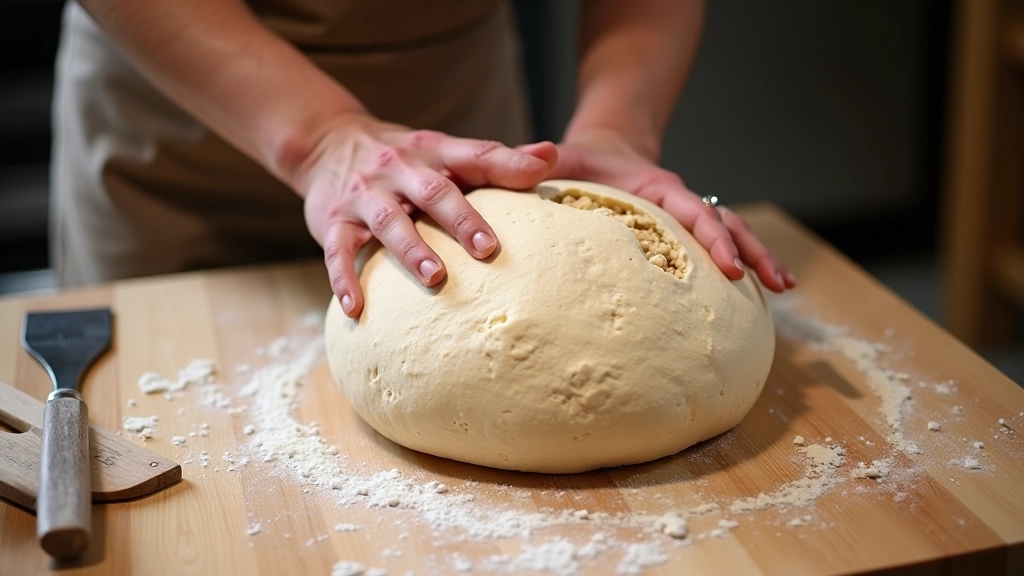
Close-up of hands pre-shaping dough into round ball, showing proper finger placement and technique
Step-by-step visual guide showing hands performing boule shaping technique on sourdough dough

The Boule: Round & Strong

A boule is round. That's it. But getting it round AND tight requires a specific motion. Flip your pre-shaped dough seam-side up. Use your hands to gently pull the dough toward you, creating tension. Then rotate and repeat — you're making a spiral of tension.

After 3–4 rotations, you'll feel the dough tighten. Flip it seam-side down. The top should be smooth and taut. Don't rush this. You're looking for surface tension that'll help the dough rise up, not out.

Pro tip: If your dough is sticky, use a bench scraper. It gives you more control and keeps your hands cleaner. You'll develop better feel for the dough over time.

Educational Note: This guide is informational and designed to help you understand sourdough shaping techniques. Every baker's experience varies based on flour type, hydration, and environmental conditions. We recommend practicing with multiple batches to develop your own feel for the dough.

The Batard: Oval & Controlled

A batard is oval. You'll see this shape in most French bakeries — it's practical and it scores beautifully. The shaping method is slightly different from a boule.

Start with your pre-shaped dough seam-side up. Fold the top third toward you and press down. Then fold the sides in slightly, creating an envelope. Finally, roll it toward you, pulling as you go. You're creating tension along the length of the dough.

The batard wants to be tight but not compressed. It'll fit nicely in a banneton and score with two or three confident slashes. Don't overthink it — just keep the motion smooth and consistent.

Hands rolling and shaping batard-style sourdough loaf, showing envelope folding technique on work surface

Common Mistakes & How to Fix Them

Shaping Too Loose

Your loaf spreads flat and won't rise up. You're not building enough tension. Solution: Use more deliberate motions. Pull the dough toward you with purpose, not gently. You should feel resistance.

Shaping Too Tight

The surface tears or the dough splits during proofing. You're degassing too much. Solution: Lighten your touch. You want tension, not compression. Think of it like stretching, not squeezing.

Skipping Pre-Shaping

Your final shape is messy and uneven. Pre-shaping organizes the gluten. Solution: Always pre-shape first. Let it rest 20–30 minutes, then do your final shape. Two steps, not one.

Using Too Much Flour

The flour burns in the oven and the crust tastes bitter. Flour is just for grip. Solution: Dust lightly. You're not breading the dough. A light sprinkle is enough.

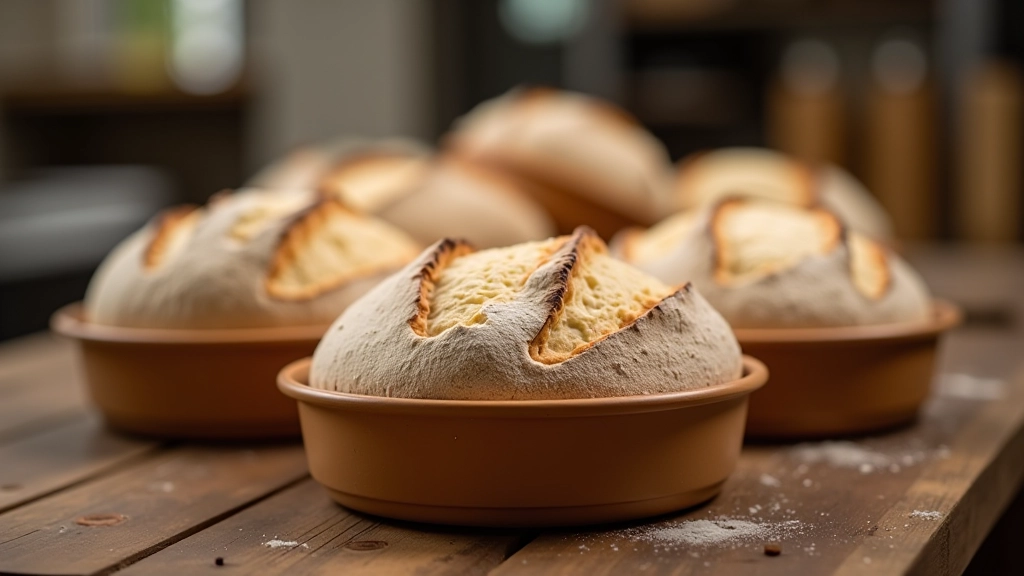
Finished shaped sourdough loaves in bannetons ready for final proofing, showing proper tension and form

Getting Better: Practice & Feel

You won't nail this on your first try. That's normal. The best way to improve is to bake multiple batches and pay attention to what happens. Shape one loaf tight, one loose, one somewhere in the middle. See how they bake differently.

After 5–10 batches, your hands will start to understand the feeling. You'll know when you've got the tension right just by how it feels in your palms. That muscle memory is what separates people who follow recipes from people who actually bake bread.

20-40 sec
Shaping time
20-30 min
Rest between shapes
5-10
Batches to master

Ready to Learn More?

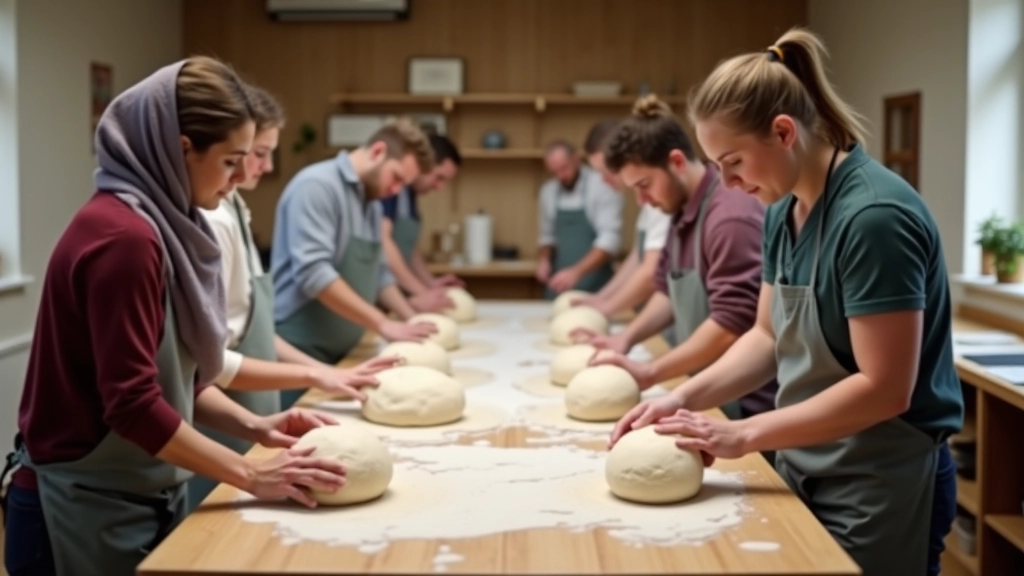
Shaping is a skill that develops with practice. Join our weekend workshops in Kenmare and get hands-on guidance from experienced bakers.

Explore Our Programs